To install the MarvelClient Databases on an HCL Domino server, open the MarvelClient Installer database:
If you have a Domino 10.0.1 server or newer, select File\Open\HCL Notes Application in your Notes client > enter the servername of your Domino server > Open the panagenda folder > Open the MC Essentials Install Wizard:


- If you do not have a Domino server >= 10.0.1 yet, you can download the MarvelClient Multi-Edition Installer here.
You can simply download the Installer to your local Notes client and open it from there.
After opening the Installer, click on the "Install panagenda MarvelClient" button:

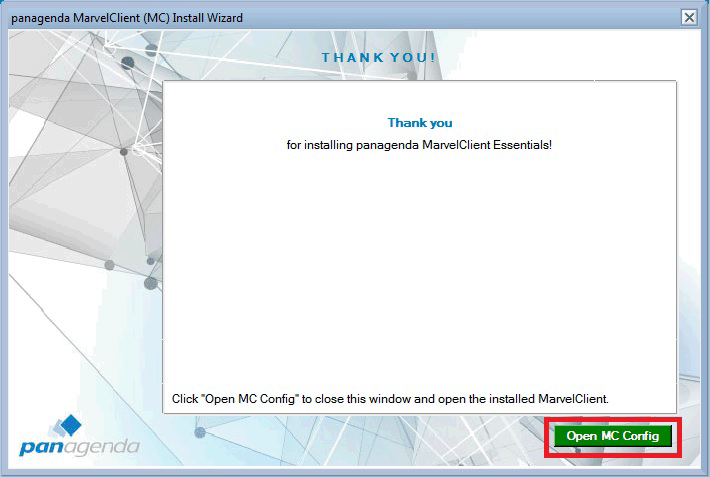
Just follow the instructions of the Install Wizard.
If during installation you choose settings different from the default, take a note as you will need them again later on. |
For Notes client releases < 10.0.1, rollout and enable the MarvelClient Essentials as described here: Rollout of panagenda MarvelClient to Multiple End Users.
- For Notes client releases >= 10.0.1, but < 12.0, enable MarvelClient Essentials as follows: Special Option to enable but not deploy MarvelClient Essentials
- For Notes client release >= 12.0, simply enable MarvelClient Essentials.