MarvelClient 11.0.3 added a feature to collect client data from a local machine or device (available on Nomad since 1.0.7).
This is useful for situations where an admin cannot pull the data from a machine or device (due to lack of tooling or limitations of the platform). The new feature makes it possible to have admins or helpdesk direct the end-user to send this support data with a few simple clicks.
Make sure the MarvelClient Analyze database is up to date before using this feature.
On Nomad Menu/Help/Generate a Problem Report will create a zip file that also includes MarvelClient data. This is another way of getting at this data on mobile devices in case the methods described below are not available.
Collecting via link from the Analyze database
Basically a button in the Analyze database that will collect this information from the current device.
What is being collected
- The MarvelClient working directory (including log and actions.xml)
- Files not older than 5 days and up to 10MB from IBM_TECHNICAL_SUPPORT (console logs and NSDs)
- The notes.ini
How
Direct the end-user to open the Analyze database from the device whose data you want to collect.
When the Analyze database is first opened the Welcome! page is shown.
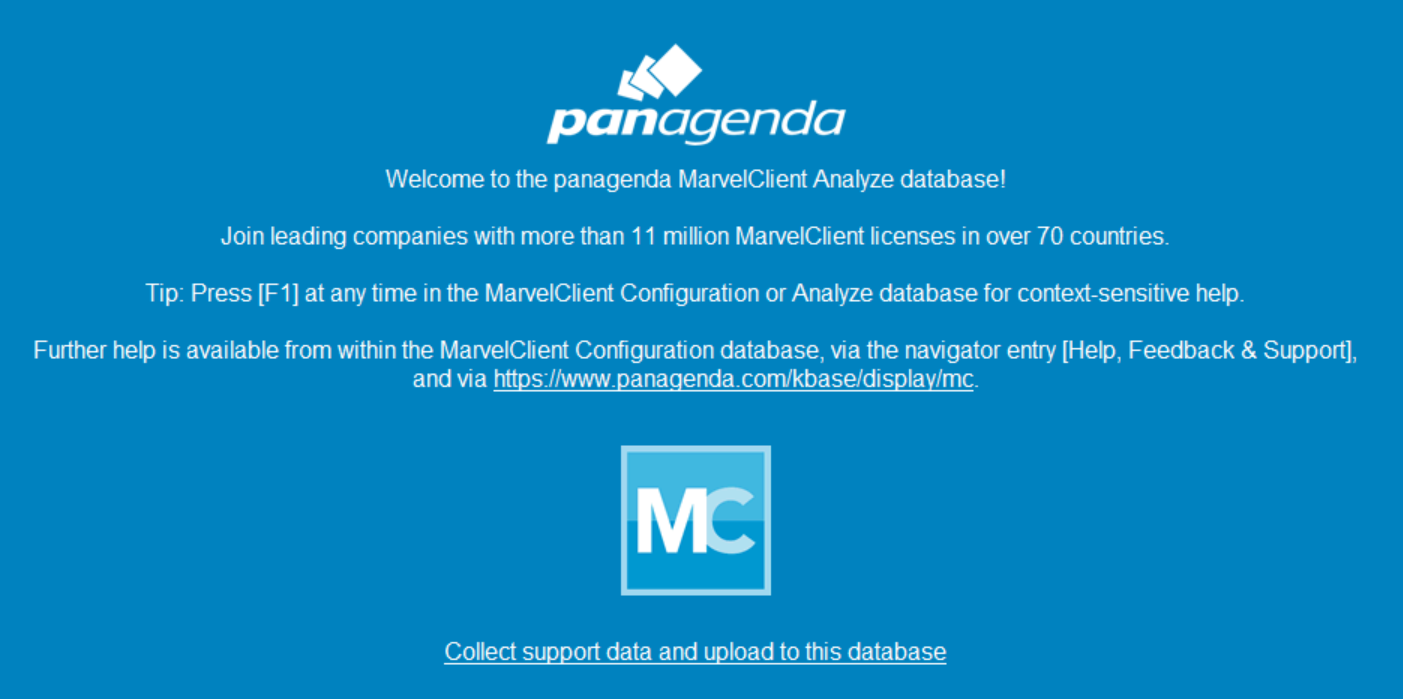
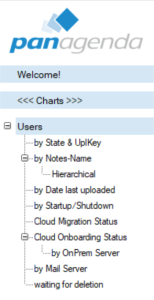
If the page does not show up it can be opened via the Welcome! link in the view navigator
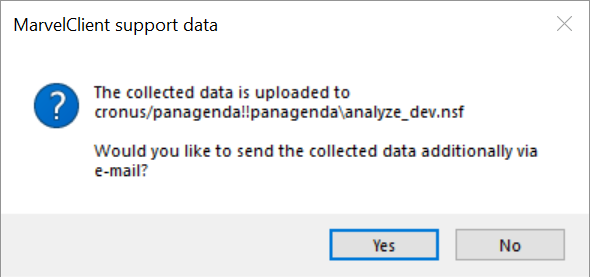
Have the user click on "Collect support data and upload to this database". There is also the option to additionally send the data via Email.
Collecting via mail
This method allows you to configure a mail that is sent to the user(s) and contains a script that will collect the data - either as a button the user needs to press, or as a stored form that runs when the mail is opened.
What is being collected
- The MarvelClient working directory (including log and actions.xml)
- Files from IBM_TECHNICAL_SUPPORT (console logs and NSDs) - maximum size and age can be configured
- The notes.ini
How
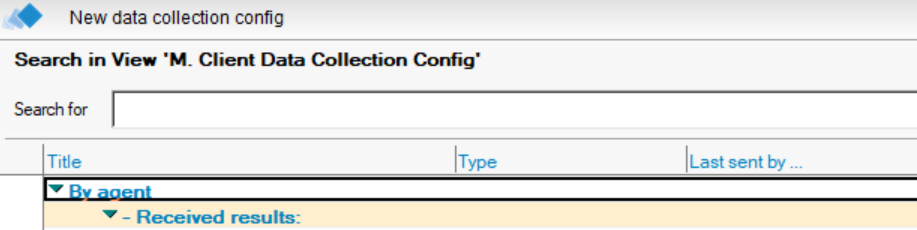
Open the MarvelClient Analyze database, select Advanced/Client data collection from the left view navigator

Click the "New data collection config" button
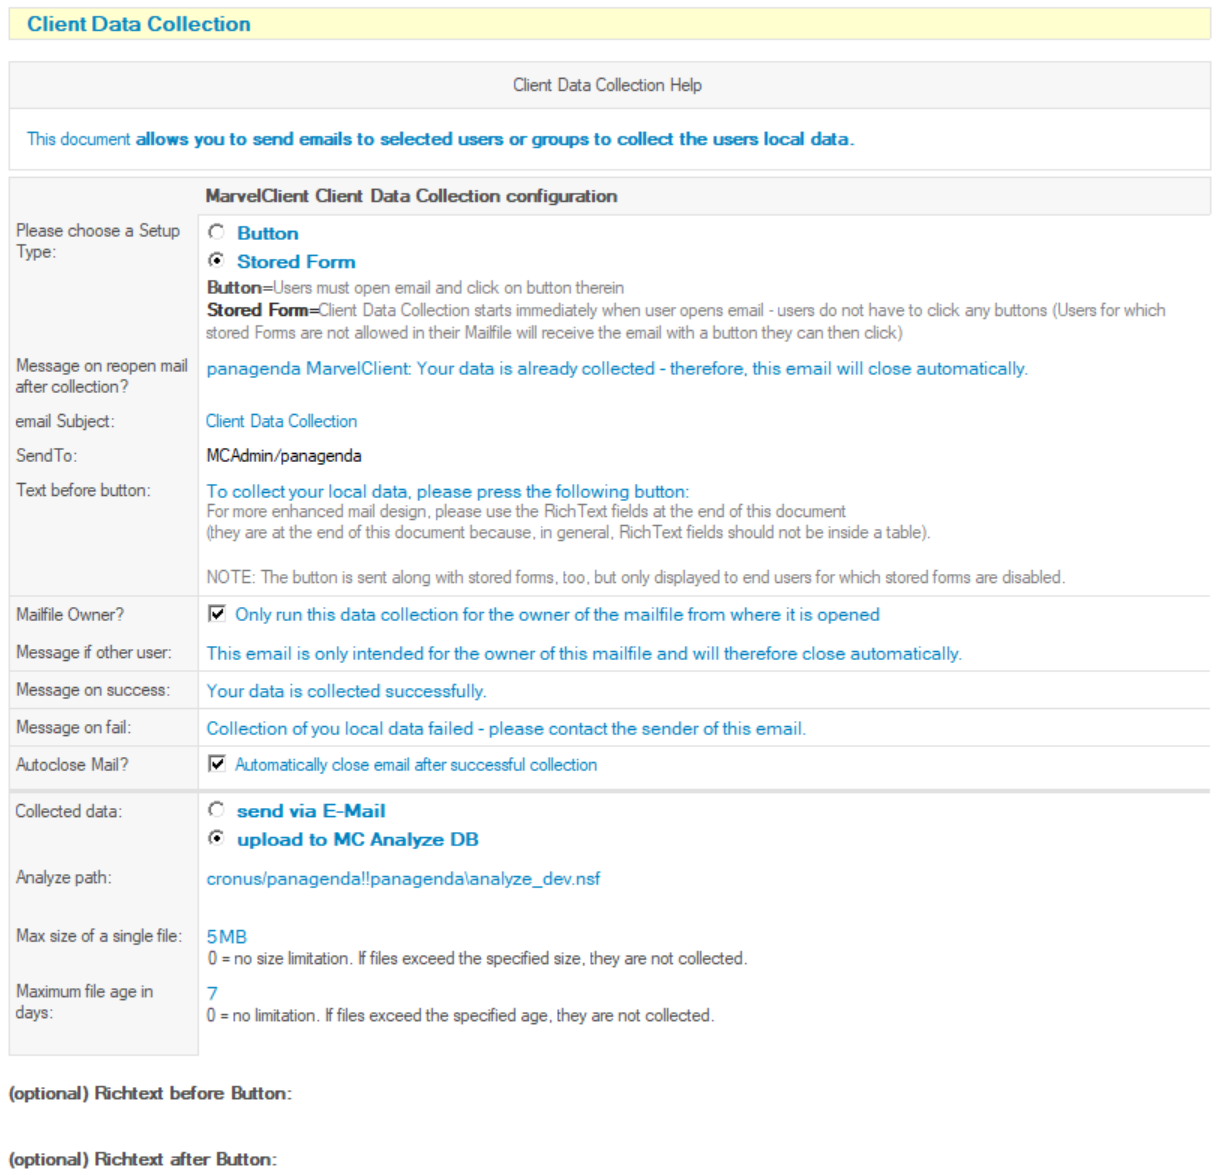
After configuration set SendTo to the user(s) or group that should receive the mail and click the "Save" button - you will be asked if you want to send out the mails now.
When the user(s) receive the mail, have helpdesk or admins direct them to open it (and press the button).
Accessing the collected data
The collected data is available in the Analyze database - select Advanced/Client data collection from the left view navigator.
It is categorized by the collection configurations title and the abbreviated Notes username. There is a special top level category "By agent..." that shows the data that was collected directly via the link in the welcome page.
The documents can be opened and will contain the data in an archive named mc_support.zip.