You are just a few clicks away from using TrueDEM. Please make sure to follow the instructions below.
Step 1: Microsoft Entra ID App Consents
Before using TrueDEM, you must add Microsoft Entra ID Enterprise applications and give admin consent.
App1: OfficeExpert TrueDEM API
The first application is an App for API access between our Services. It contain only two default Delegated permissions.
To add it, please click the following Link and give admin consent:
The following dialog is displayed:
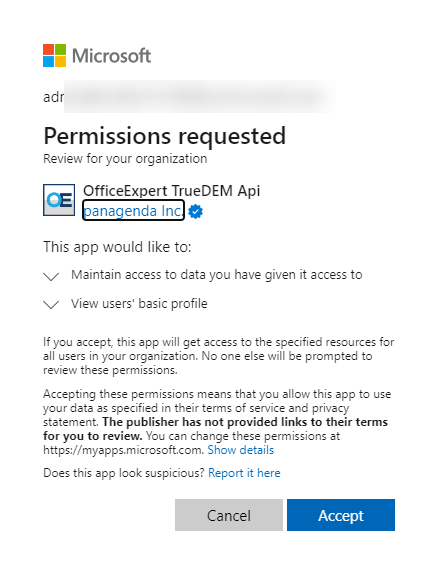
Click on Accept to add the TrueDEM API - App to your Microsoft Entra ID.
App2: OfficeExpert TrueDEM Agent
The second application is the Core app used by our Store App. It contain only Delegated permissions.
To add it, please click the following Link:
The following two dialogs are displayed:


Click on Accept to add the TrueDEM Agent - App to your Microsoft Entra ID.
The second Dialog page is a re-confirmation since the TrueDEM Agent app is caling the other TrueDEM API app and one need to confirm the graph permissions again.
App3: OfficeExpert TrueDEM Calls and Health
This application is used in our Cloud Service and retrieves for instance call record data from your tenant using the official Call Records API. It contain several Application permissions.
To add this application, please access the following Link:
Link >> TrueDEM Calls and Health - Consent Link
The following dialog is displayed:
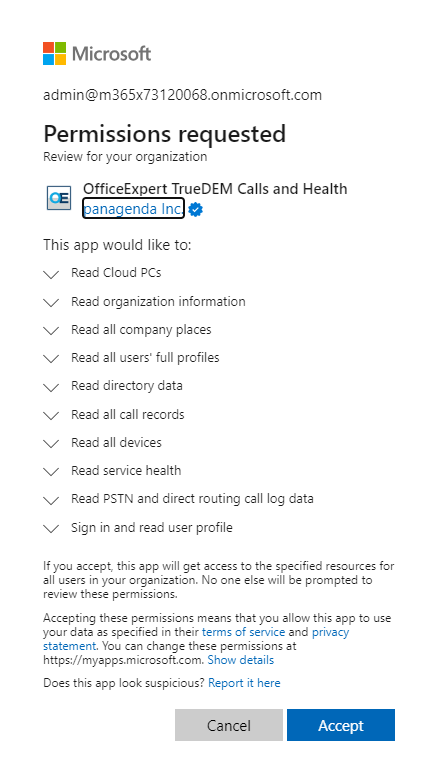
Click on Accept to add the TrueDEM Calls and Health - App to your Microsoft Entra ID.
Step 2: Portal Application
As soon as the panagenda internal provisioning process is complete, you will receive details about your unique TrueDEM Portal URL. With this URL you are going to add another Microsoft Entra ID Enterprise Application.
Accept the request "on behalf of your organization" by ticking the corresponding checkbox:
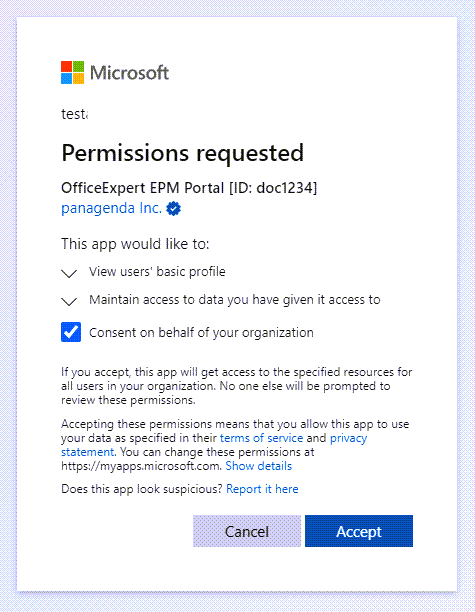
The TrueDEM Portal application will appear as an Enterprise App in your Micrsoft Entra ID Tenant. You can adjust the user accesses accordingly in your Azure portal, see True DEM Portal - Restrict Access for further details.
Note: if you try to access the Portal App as a normal user the first time (instead of a global admin) you likely get the following message:
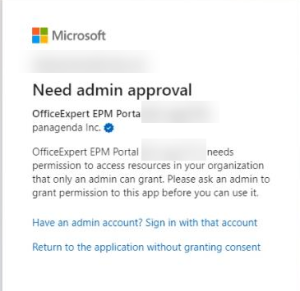
This message is displayed due to security restrictions you have in place in your Azure tenant, in which users are not allowed to register any applications.
Step 3: TrueDEM Manager Roll-Out
While the SaaS on-boarding process is in progress, you can already begin rolling out the TrueDEM Manager in your organization. To do so, proceed as follows:
- Please make sure you follow the following Client Requirements: Client Requirements for TrueDEM
The download link to the panagenda TrueDEM Manager and the Install Guide will be directly send to you by our team.
- Integrate and deploy the Installer with Intune, SCCM, or any other Software Deployment Tool. See a link how a Intune/Endpoint Manager Integration look like: Integrate with Endpoint Manager
- As stated in the Install Guide, a restart of the client is needed in order to activate the TrueDEM Agent on the local Device
Please make sure that Step 1 from above is done before you install and deploy the TrueDEM Manager to your devices!
What are the names of the processes running on the computers after the installation?
The TrueDEM client consists of two different parts
a) TrueDEM Store App(Background => PerfraxAgent.Exec.Net.exe ; Foreground => PerfraxAgent.exe)b) TrueDEM Manager
Now, everything is ready to proactively monitor and analyze your end points with TrueDEM. For further information, please have a look at the TrueDEM articles in the panagenda knowledge base.